
First I put the quilt on my design wall at the exact angle I want it to hang.

Then I used a level to draw a line on the front of the quilt. I made sure the little 'bubble' on the level is exactly centered.

I used Clover's White Marking Pen. This marker makes a fine white line that is removed with the steam and heat of your iron. I used this same pen to mark some basic quilting lines on my quilt so I know they will come out.

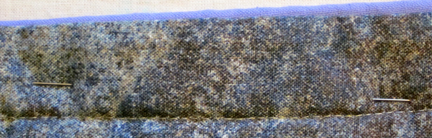
Next I placed pins through all layers along the line so I could see the row of pins along the back.


Then I drew a line on the back, joining all the pin 'marks.


Next step is to make the sleeve. I am also submitting this piece to an International Quilt Show and the quilt needs a 4" (finished) sleeve to accommodate the large hanging pipes used at these venues. I cut a rectangle of fabric 9" wide and slightly narrower than my quilt.

Here are my sleeve-making steps:
- Turn the short ends under 1/4" twice and topstitch.

- Sew the long edges together, WRONG sides together, with a 3/8" seam to make a tube.

- Center the seam on one side and press open, creasing only the top edge with the iron.

- Slide the seam down (towards me) until the top crease is about 1/4" down and crease the bottom edge with the iron.

- This makes the back side of the sleeve slightly smaller than the front side. This allows for the hanging rod and the rod won't make a 'bump' on the front of your quilt.

- Pin the sleeve in place along the marked line on the back of my quilt and slipstitch the top edge in place. When the bottom crease is pinned to the back of the quilt, the sleeve is flat on the quilt but there is a more space on the top side.

A final test to hang the quilt and see what it looks like - perfect angle!

I made this quilt to showcase some stamped fabrics for a workshop in Houston last year. My goal was to blur the block lines and create an improvisationally pieced quilt. I realized long after the quilt was made that I was influenced by the Japanese tsunami. The images of buildings, vehicles, ships, water moving over the land gave this topsy-turvy view. My quilting lines are radiating waves - another influence. I call this piece Miyagi Tsunami.
Sometimes we are impacted by traumatic events deep in our soul and they are revealed in our work.
2 comments:
nice tutorial, good to know how to do this.... do you know if you get marked minus points if you just have the sleeve flat on the back so it does create a "bump"?
I'm sure judges don't take this into consideration when judging quilts. I just like to be sure my quilts hang well!
Post a Comment