Well then.....ready, set, go!
A reminder....these are the fabrics I am using for my quilt.
I decided to 'switch it up a bit' by swapping the values for my quilt. That's not the 'colours' - value is the relative lightness or darkness of the fabrics.
Want to know more about 'value'? I included a tutorial when I posted about my Ripless Paper Piecing online workshop back in 2016. Scroll down to read about 'value'.
PS: This class is now 'on demand' at the Academy of Quilting so ignore the start dates - you can start any time.
**********************
Part 1
First I had to decide which fabrics to use for the centre section. I definitely want to use one of the Ketan Multi fabrics for this part. It will sent the 'tone' for the entire quilt.
I did a quick seam allowance test. I didn't just measure the seam allowance; I pressed my small test to be sure it measured correctly. Different fabrics can give you different results once the seams are pressed. For example, the seam allowance I use for my fine batik fabric is different from what I would use with a flannel fabric.
You might want to do that too. It's a good idea to prevent problems as you sew your quilt.
I sewed the centre block. It's the perfectly correct size because Jen tells us to cut the strips the right length at the beginning!
I have to trim the block to be a rectangle and this means I will have 'bias' edges. I didn't want them to stretch so I used Best Press when doing my final pressing for the block. This starch alternative is a great way to stabilize your fabrics.
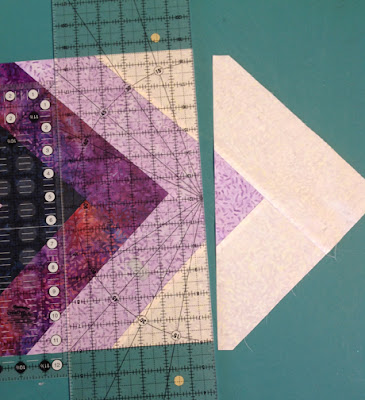
Then I trimmed the square into a rectangle. Using 2 rulers and measuring carefully....
 |
| My 12-1/2" ruler is lined up on the corners of the centre square. Then my 24" ruler is snuggled up and I trim the first side. |
 |
| Same steps to cut the second side and adding up the measurements to get the correct width. |
 |
| Lining up with the cut side to be sure the corners are 'square' and using the 2 rulers to get the measurement for the length. |
 |
| My 24" ruler, lined up perfectly on the cut edges to make the final cut. |
 |
| The centre rectangle! I'm loving my fabric choices so far. |
Finally, I added the dark blue border strips to the rectangle. Of course everything fits perfectly since I measured twice (or actually three or four times) before I trimmed the square into a rectangle, and the border pieces are cut to the exact length before they are sewn on.
 |
| The centre is DONE! |
Can't wait for the next step! Tune in on September 26th to see what I'll be using for my next border.


No comments:
Post a Comment